
As a creative person with a busy schedule, I have an affinity for apps that allow me to work on the go and can get the job done with just a click. I like applications that aren’t too complicated but are sophisticated enough to do what I want.
These days, creative professionals and amateurs are looking for ways to easily express their creativity without having to use tools such as Photoshop. Gone are the days where only those skilled in Photoshop could alter their photos.
The Superimpose app allows the average smartphone user to unleash their creativity and push the limits of their imagination. In this article, I’ll be sharing my experience using the Superimpose app, a simple photo editor that takes my photos to the next level!
- Superimpose App - Unleash Your Creativity
- Key Features to Love
- Editing Photos with Superimpose
- Step-by-Step Editing
- Creating a Double Exposure Photo
- The Benefits of Using the Superimpose App
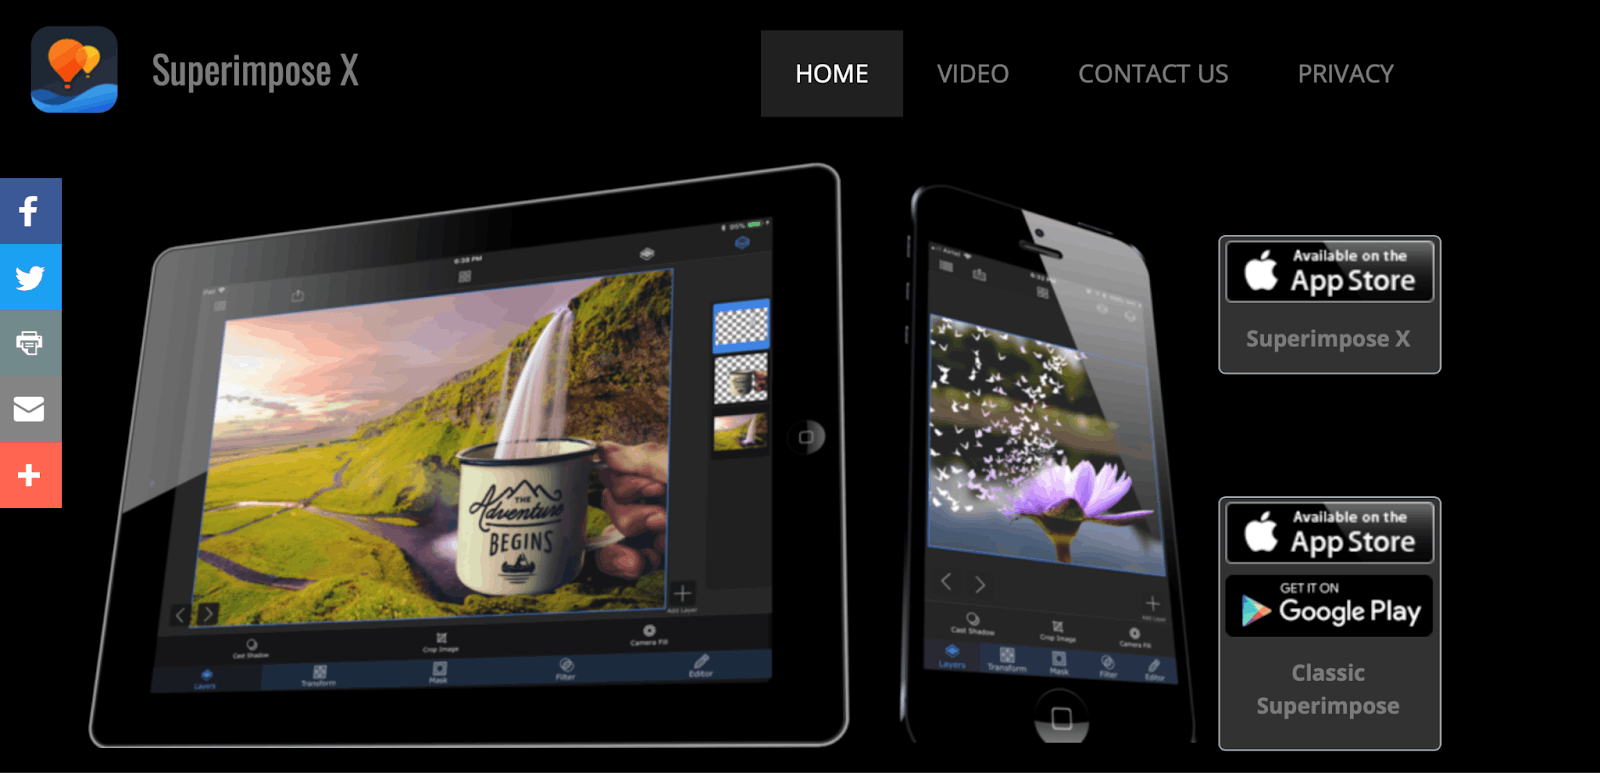
Superimpose App - Unleashing My Creativity
Superimposing photos is not a new concept to me. I’ve been combining multiple photos for an artistic double exposure or juxtaposition for a while, but I have always used more complicated tools.
This was frustrating for me because superimposing is not a complex concept. All I really needed was a tool that could make the process easier.
With the Superimpose app, this entire process was made easier and quicker, without compromising the wide range of tools and functionalities that are needed by advanced users.
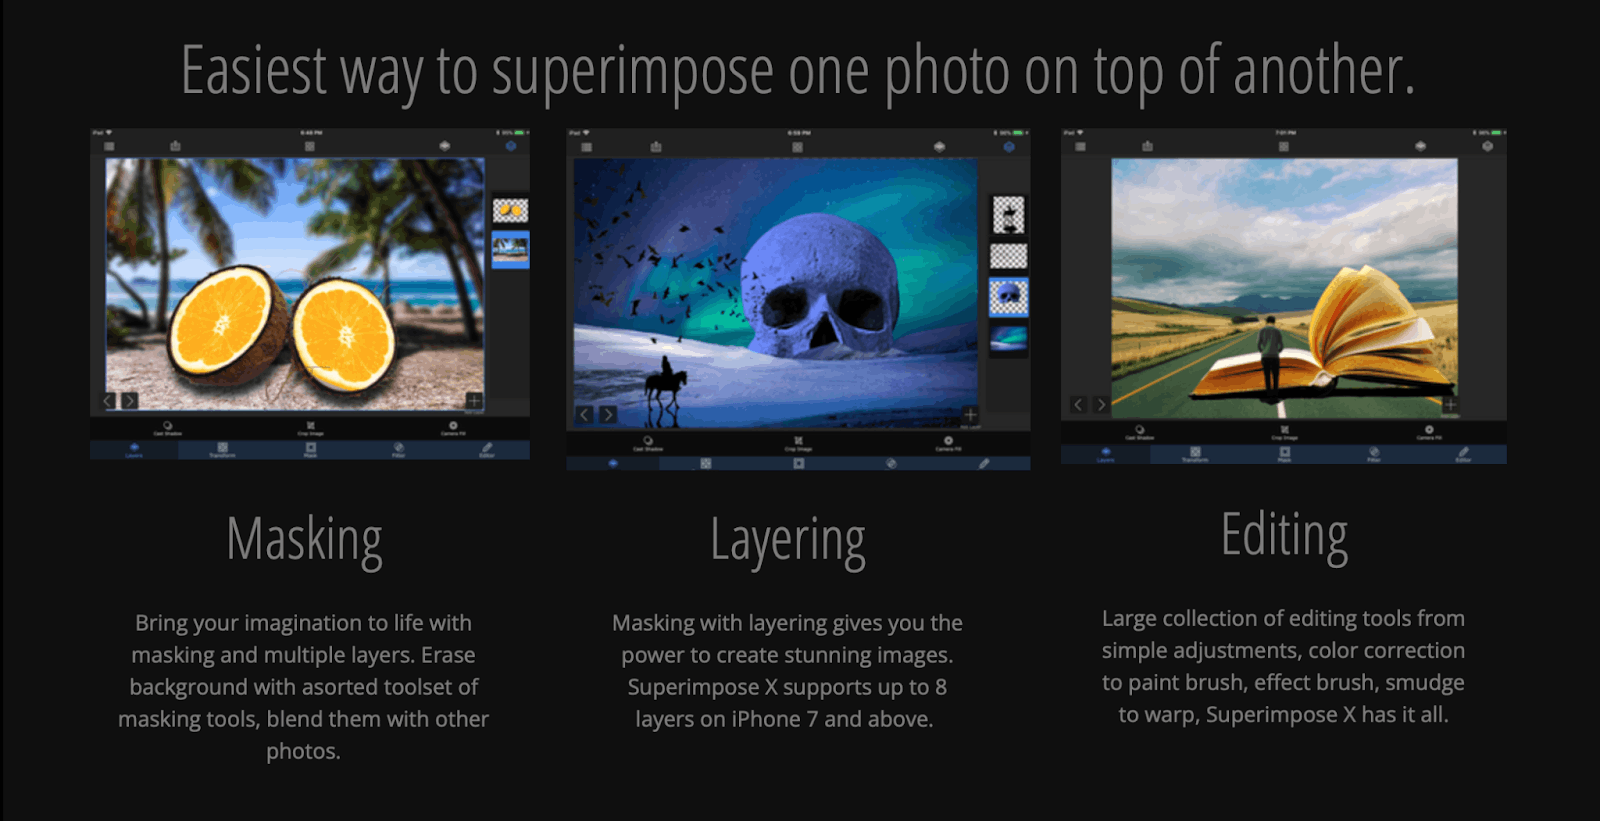
Advanced tasks such as editing, masking, and layering photos are all supported by the app and can be done within a few taps and presses.
Worth the Money
The app is available for only $0.99 on the Google Play Store. It has over 100,000 downloads and a 3.7-star-rating on the platform.
Although I was skeptical of paying for a photo editor of which there are typically many available for free online, I have no regrets in paying for the Superimpose app because I know I can get my money’s worth.
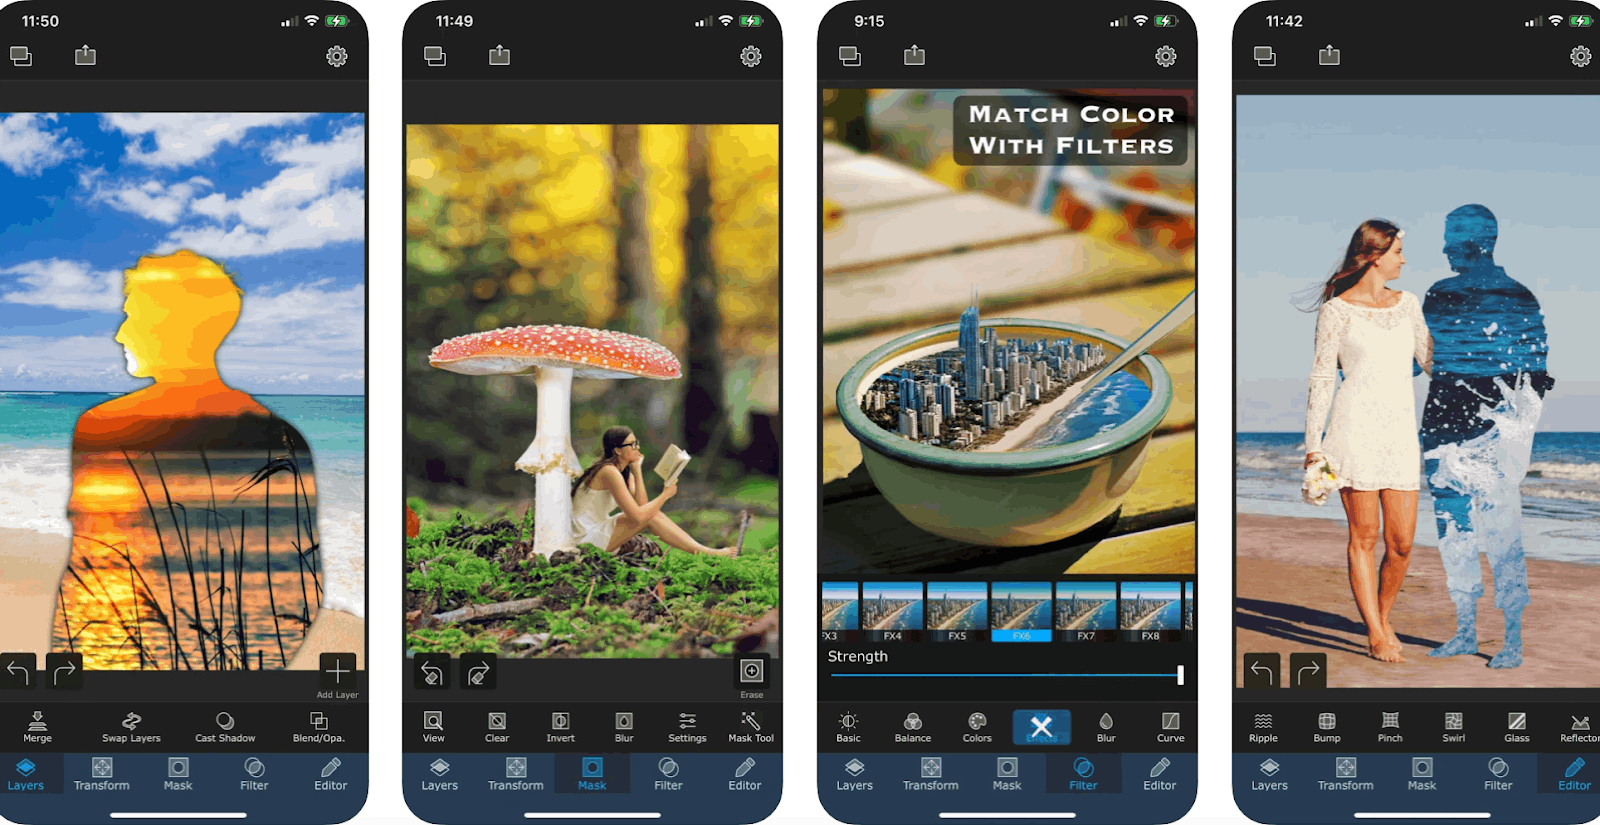
Key Features to Love about Superimpose App
There are a lot of features that I love on the Superimpose app. I think I cannot emphasize enough how great it is at simplifying tasks such as creating double exposure photos.
With a variety of tools such as blend, mix, combine, copy, cut, and paste, I can easily create double exposure photos by uploading two photos, choosing the opacity, and playing with the blending modes.
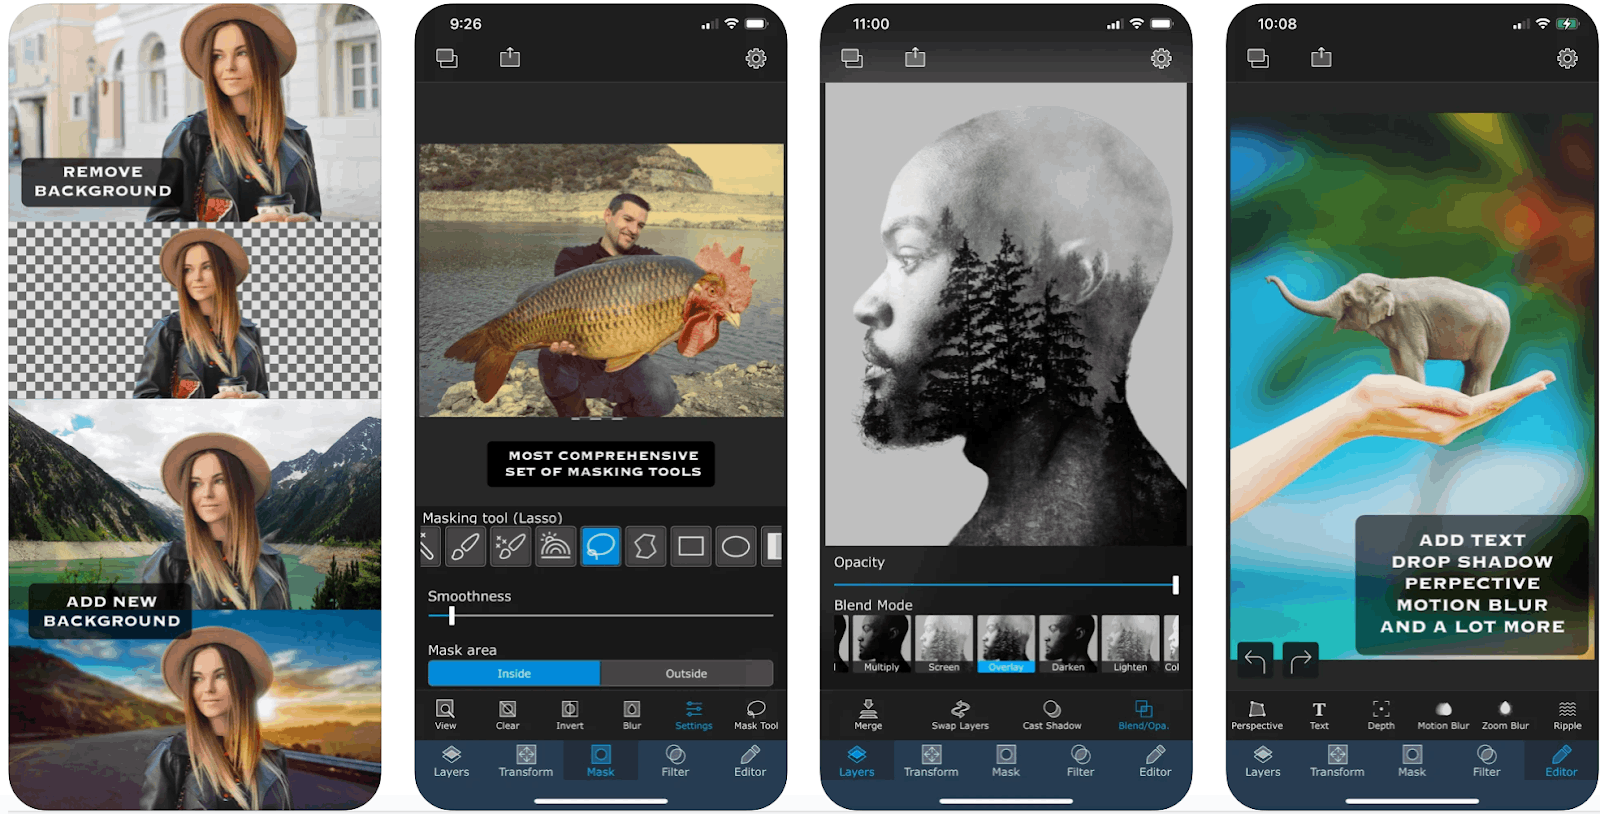
Advanced masking tools such as the magic lasso, brush, smart brush, lasso, polygon, rectangle, ellipse, linear and radial gradient, and color range make it easier to edit individual parts of a photo.
I also love how they have a dedicated hair masking tool to cut out hair. In an effort to keep things simple, the app’s default setting is to work with two photos, however, I can add more layers of photos to create more complex compositions.
Editing Tools
Apart from advanced masking and filter tools, the app also comes with a variety of editing tools such as perspective correction and adding text with comprehensive settings such as motion and zoom blurs.
I also love how easy it is to create natural shadows with the app’s dedicated natural shadow feature. With the app’s built-in mask library, I can store all my cut-outs and stickers, which I can later add to a background.
I can save my creations in high resolution and in JPEG, PNG, or HEIC formats.
Editing Photos With Superimpose
As I said, superimposing two photos is an easy process. First, I choose two images - a background image, and a foreground image.
Then, I mask out unwanted portions of the foreground image with the wide range of available masking tools. Then I smooth the edges with the smoothing tool.
When I am satisfied with how the image looks, I use the move, scale, resize, rotate, and flip tools to position the foreground in my desired position in relation to the background photo.
As a finishing touch, I adjust the colors, exposure, contrast, hue, and saturation of both the foreground and background images. I find that playing with the settings of the photos' colors can really enhance the final look of the photo.
Masking Tools
I personally find Superimpose app’s masking tool to be one of the best among the available photo editing applications out there.
The one-tap tool masks out all connected areas with similar colors. It is a powerful feature that makes Superimpose stand out from the rest.
Step-by-Step Editing
In this section, I will explain how I use the app’s tools to achieve different creative effects on my photos. Let’s take a look at how I achieved the photo below.
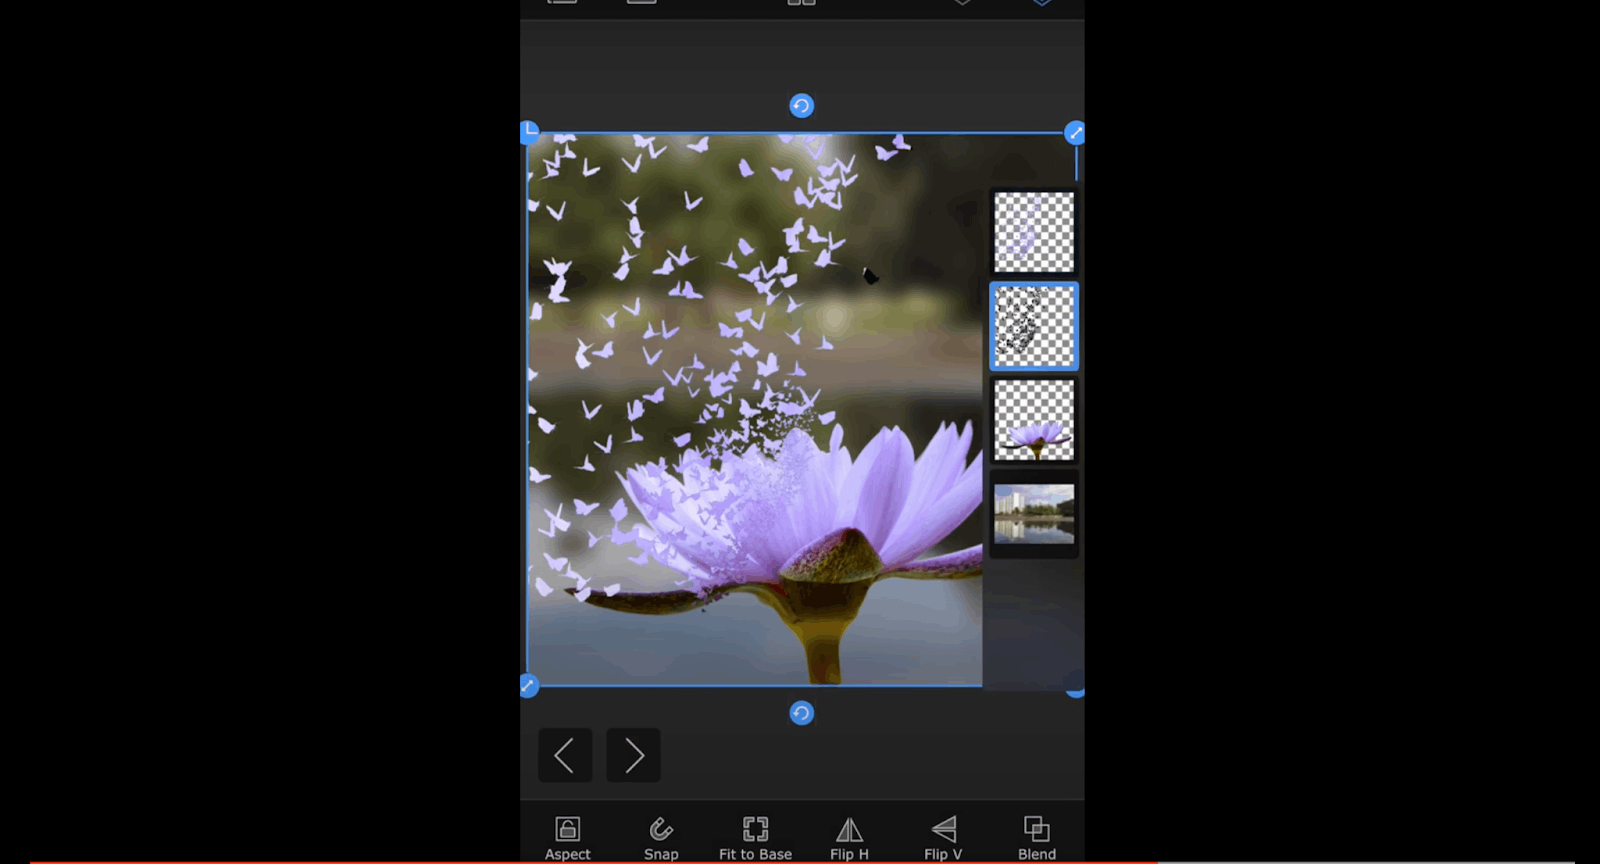
First, I upload my base image and use the Magic Wand tool to remove portions of the base image’s background. The Magic Wand is great to use when I don't want to remove the entire background or use different mask levels in a single photo.
Then, I refine the image using the Brush tool and zoom in on the photo to refine the edges. To change a photo’s background, I tap the “Add Layer” on the left side below the photo I am editing, and reposition the photo by dragging it around the screen.
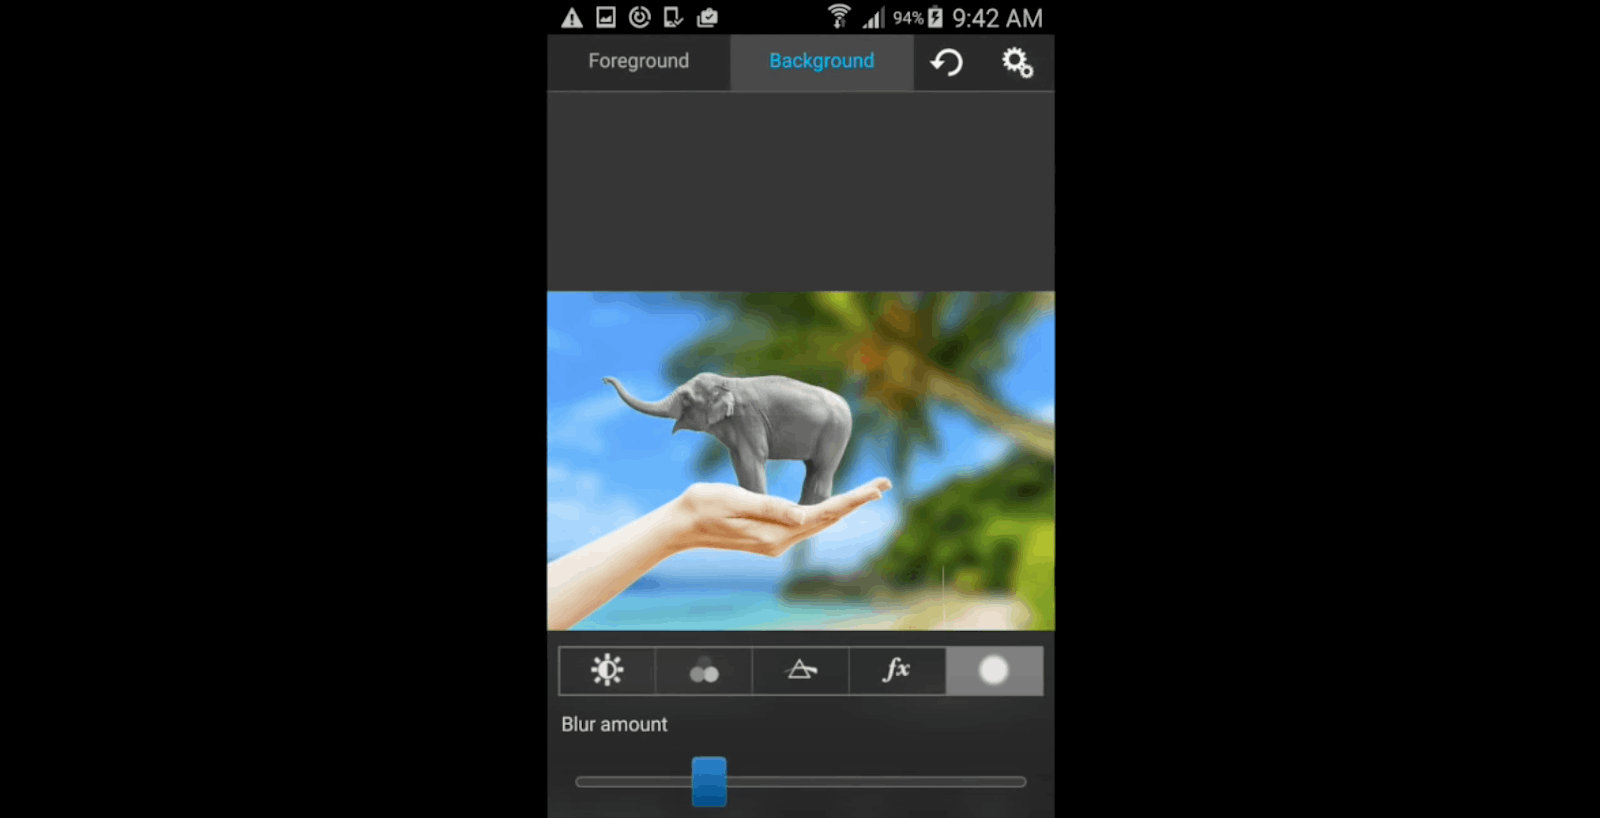
Then, I can defocus the background using the Blur Radius function. To achieve the purple butterflies, I added an empty later and painted on it using the Butterfly brush.
Using the Warp Tool
After having successfully painted the butterflies in the photo, I went to the Distort - Warp tool and warped a portion of the image.
Then, I moved the paint layer to the bottom of the distorted image layer.
Then, I transferred the butterfly layer’s mask into the layer just above it using the Clip Up tool. The finished image now shows the gorgeous photo of a purple flower with purple butterflies.
Creating a Double Exposure Photo Step-by-Step
To create a double exposure photo, after I selected the background image (base layer), I removed the background using the masking tools. Once satisfied with the look of the base layer, I can move it around and position it on the screen.
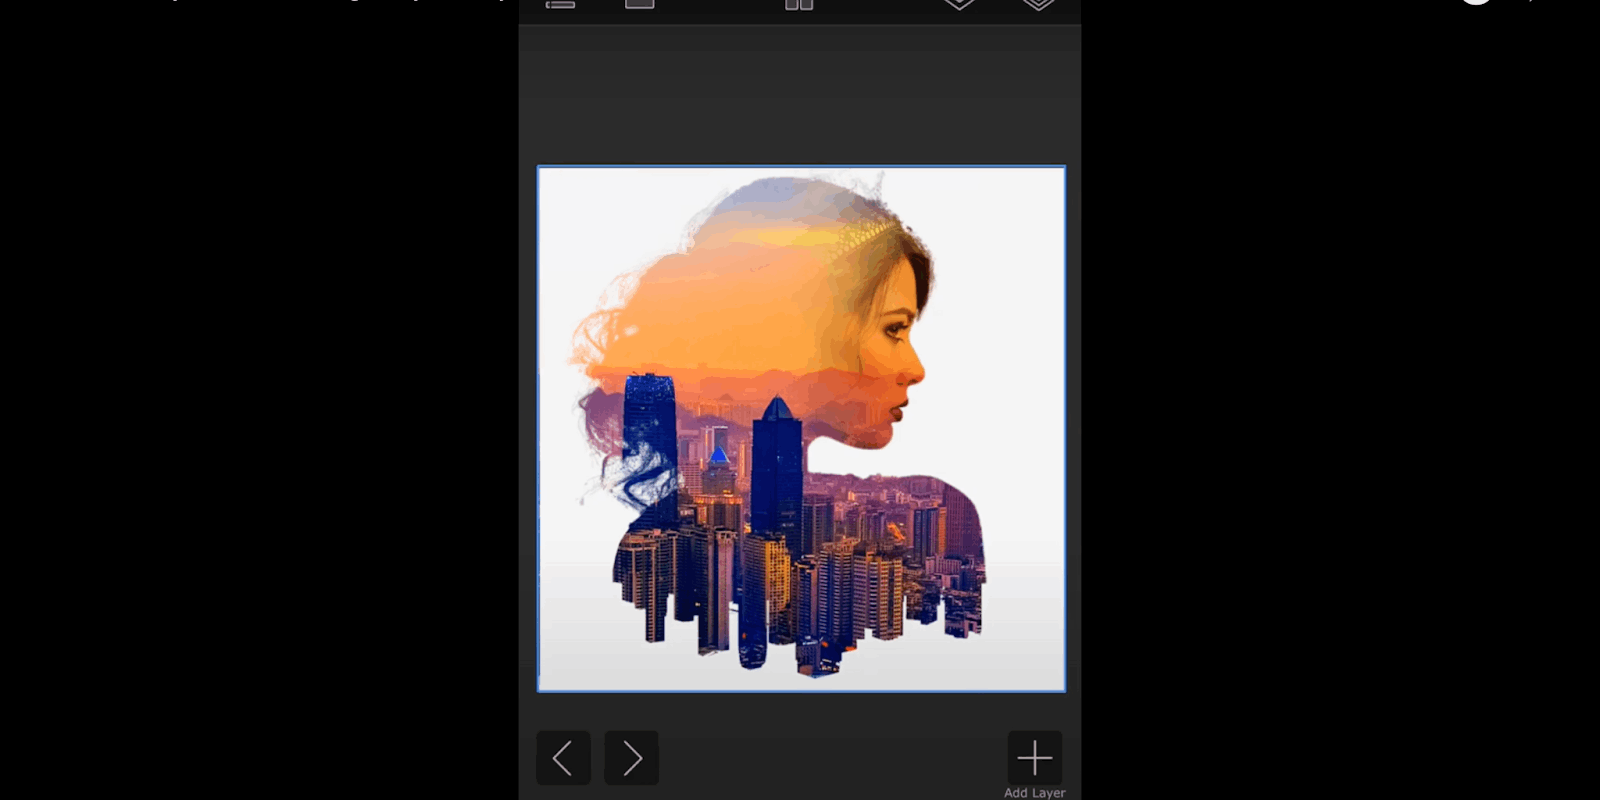
To add the second image or the foreground, I selected the “Add Photo Layer” option and chose the second picture from my gallery. Now that the second layer is uploaded, I used the Magic Wand tool to mask some portions of the image.
Then, after the second image has been masked and a portion of the background has been removed, I can now add it back to the base layer and position it on my desired portion of the photo.
I used the Merge Layer option to merge the two photos into a single layer. I added an empty layer and filled it with a color gradient, and then added the colored box on the previous layers.
Clip Up to Transfer the Mask
Similar to the first photo that I explained, I used the Clip Up function to transfer the mask from the bottom layer to the topmost layer.
To finish the background image, I simply pressed the Invert Layer function. Then, I added another photo that will now serve as the foreground image.
For finishing touches, I masked the foreground image and used the Feathered Brush tool to refine and smoothen out the edges. That’s how I ended up with this great-looking photo!
The Benefits of Using the Superimpose App
The Superimpose app is a great tool for both beginners and experts in the field of photo editing.
Beginners will gain great insights on how functions such as masking and blending work using a simple and uncomplicated tool. The app will use these insights to prepare them to use much more advanced and complicated tools.
For advanced users, we can take a break from using complicated apps and try to simplify our work with the Superimpose app.
I’ve always found it a breath of fresh air to use simple apps such as these to carry on with my simple photo editing work.
Points for Improvement
I think making this a free app will benefit a lot of people, especially those who choose to only use free apps.
Perhaps a seven-day free trial would be another great way to encourage people to try the app too!
To Sum Up
In conclusion, the Superimpose App is a great alternative to complicated editing applications and a great tool for first-time photo editors and beginners.
I am excited to see the improvements of this app in the future and experience how they revolutionize photo editing technology with this simple and efficient app that gets the job done. Take this app for a spin and see for yourself!


